NativeLink™ Deferred Deep Linking
Deep Link after app install with Branch NativeLink™
iOS 16
If you are currently using the Branch NativeLink Feature, on iOS 16, when the Branch SDK checks the pasteboard on first opens, the native iOS prompt will automatically display itself requesting permission from the user. Alternative integrations are supported. Please refer to our iOS Developer Docs.
Overview
NativeLink™ is an innovation from Branch that bridges the gap created by Private Relay with an on-device solution that does not require the use of an IP address for deferred deep linking. NativeLink™ gives end-users the choice to copy deep link content to their clipboard or not, so they have full control of their user experience.
With no unique personally identifiable information required, there is no privacy tracking risk with NativeLink™. It works by utilizing the native copy and paste functionality already built into the phone.
How does it work?
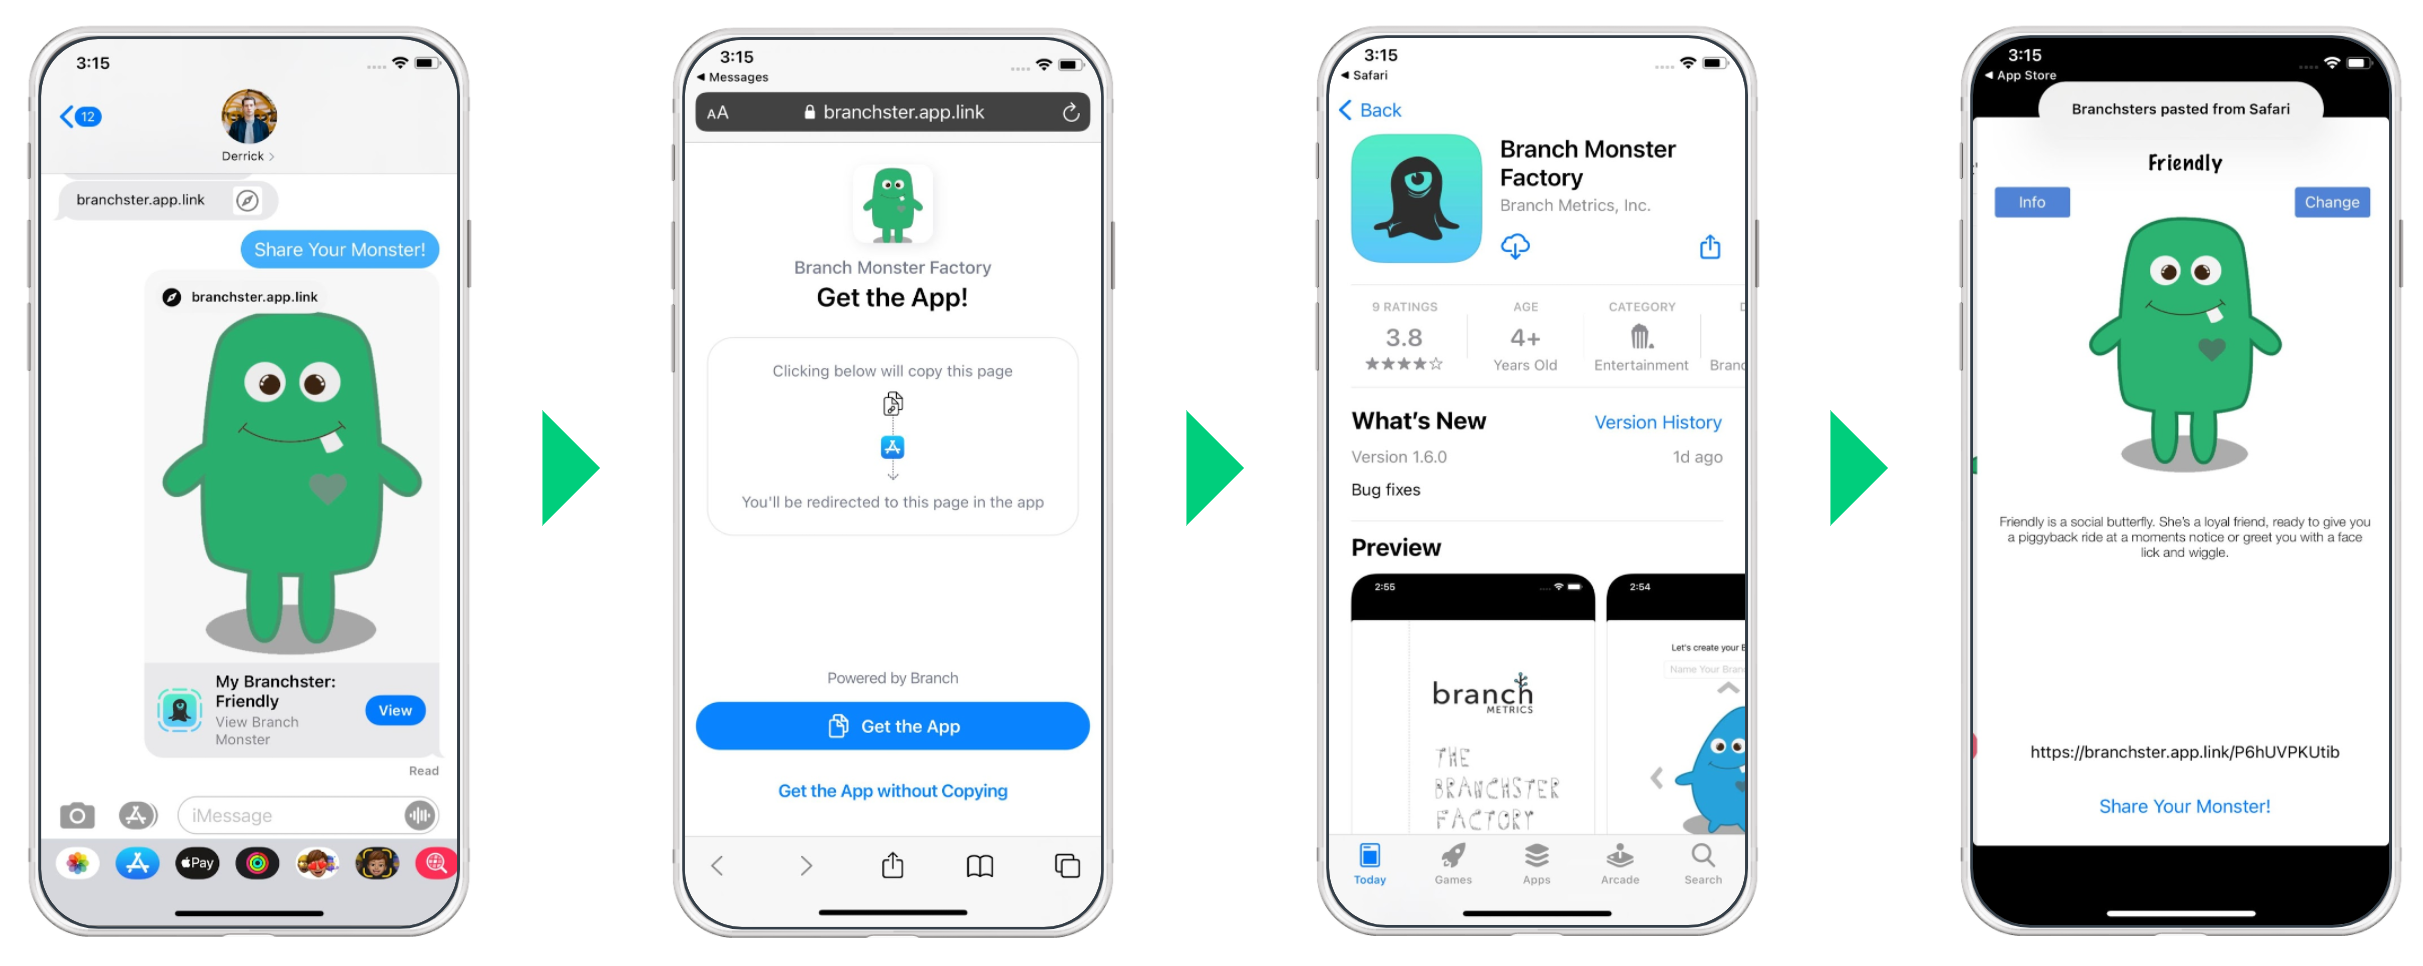
- User clicks a Branch Link
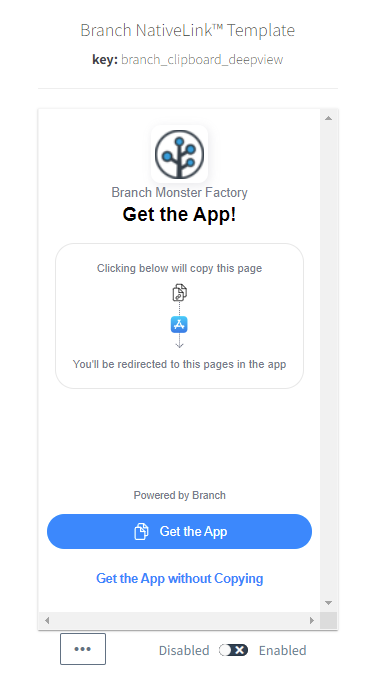
- User's web browser opens and the user will see the new NativeLink™ experience; a blue call-to-action button
- Once clicking on the blue call-to-action, the URL location is copied to the clipboard
- User is then brought to the App Store to download the app.
- After installation, NativeLink™ will check the clipboard for the URL and process it for deep linking
Integration Guide
Developer Required
Developers knowledgeable with Mobile Development is required.
1. Make sure your Branch iOS SDK is v1.39.4+
Ensure that your mobile app is set up for deep-linked routing from Branch Links
2. Implement a single line of code for the app to process a NativeLink™ enabled Branch Link
Please follow the instructions in our developer documentation for implementing the single line of code.
3. Toggle NativeLink™ on in the Branch Dashboard
Select your audience rule.
4. Create & Configure your Branch Link
Branch Link creation options:
Additional information on configuring your Branch Link can be found here.
NativeLink™ Customization
NativeLink™ Customization
NativeLink™ Customization is available for Enterprise customers. Please reach out to your Branch account team to activate this feature.
1. Find the NativeLink™ Deepview
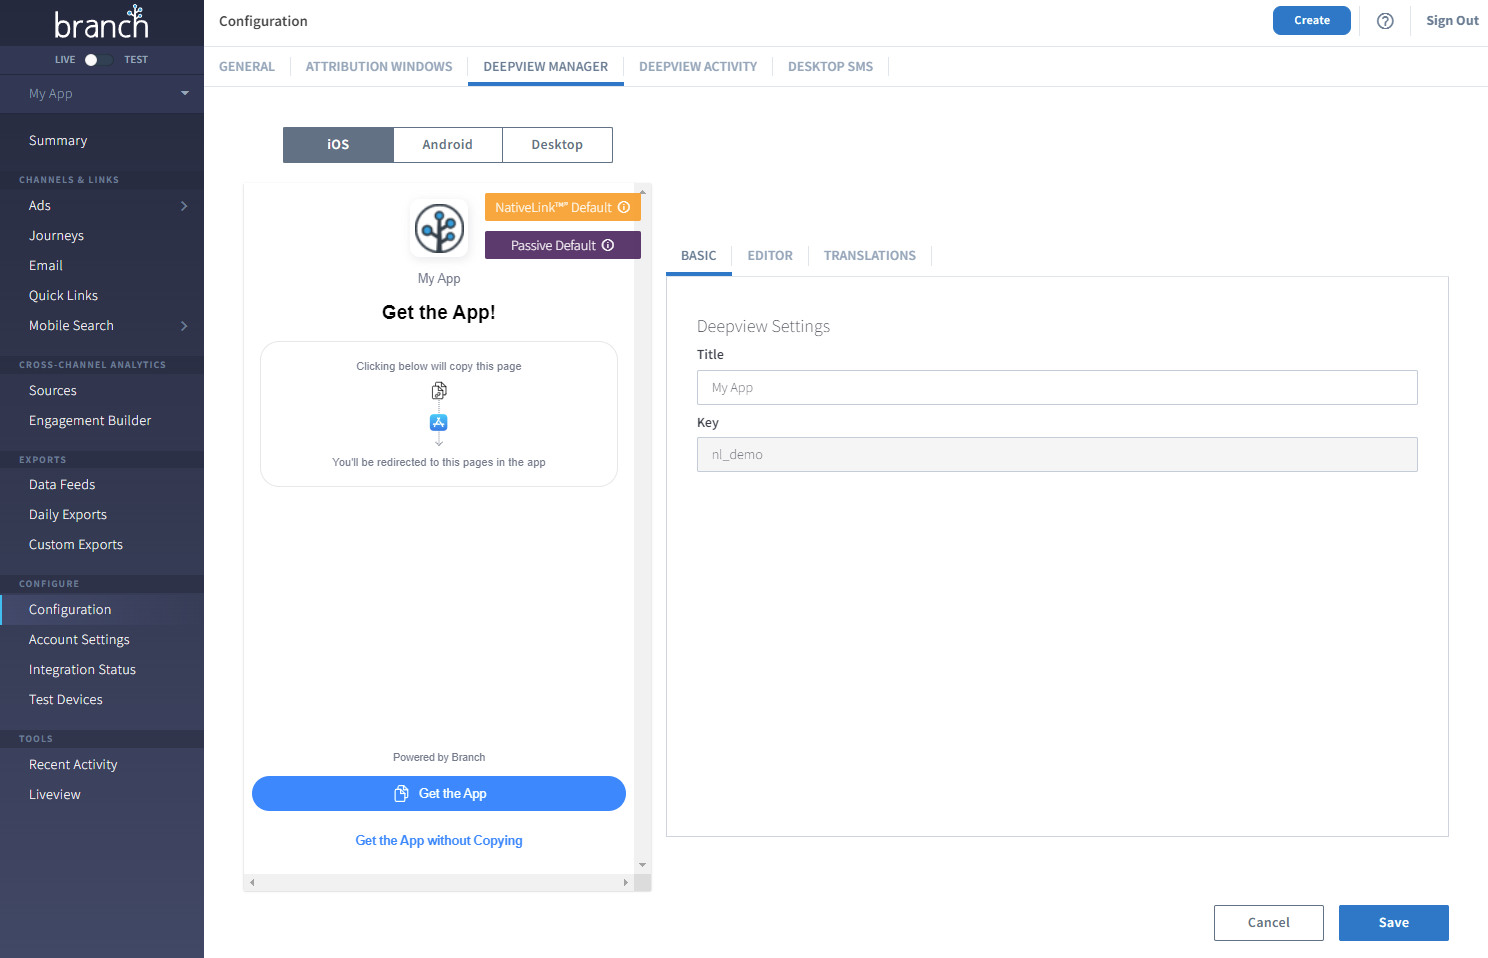
Go to the Deepview Manager Tab in the Configuration screen. Once there, locate the NativeLink™ Default deepview indicated by the following tooltip:

You have the following options:
- Edit: Opens the edit screen for the deepview. This option is only available on cloned deepviews.
- Set as NativeLink™ Default: Makes the deepview the default only for NativeLink™ experiences.
- Duplicate: Clones the deepview. This option is only available on the default deepview.
- Delete: Deletes the deepview. This option is only available on cloned deepviews.
2. Edit the NativeLink™ Deepview
There are several properties that you can edit the NativeLink™ Deepview using the different tabs.

Basic
The Basic Tab allows you to edit the title of your deepview.
Editor
The Editor Tab allows you to edit more advanced components of the NativeLink™ deepview by exposing the HTML/CSS directly. You will have the full flexibility of adjusting any existing deepview elements.
Translation
The Translation Tab allows you to modify the language of the NativeLink™ deepview. Here you can adjust the verbiage based on the language-country combination of your choosing. The language shown on the deepview is based on language detected by the browser, and there are 21 languages supported.
Testing & Troubleshooting
Because enabling and using NativeLink™ requires iOS development resources, you can find our NativeLink™ testing & troubleshooting steps in our developer documentation.
A/B Testing NativeLink™
Advanced
Setting up an A/B test with one or more NativeLink™ deepviews requires advanced link setups and exporting performance.
With NativeLink™, you have the ability to test out different designs at the same time and control the release the control of those accessing the NativeLink™ deepview on the link level.
1. Getting NativeLink™ Keys
When you are customizing your NativeLink™ deepview, each new deepview you create will have its own unique key. You can obtain the key from the Branch Dashboard's Deepview Manager, and the key is located underneath the title of the deepview.
Hold on to the keys of the different NativeLink™ deepviews that you are going to use for the A/B test.
2. Setting NativeLink™ Keys
Once you have the keys of the deepviews you are going to use for the A/B test, you need to set those keys on a per-link basis using the $ios_nativelink parameter. Each deepview will need to have its own corresponding Branch Quick Link.
Set your NativeLink Keys as the value for $ios_nativelink when adding link data options.
Note that NativeLink configurations are a form of "Active Deepviews" so forced redirections will not work with it.
3. Launch A/B Test
You can then use your preferred A/B testing platform to send out your Branch Quick Links from the previous step to start getting data and usage on the NativeLink™ experiences.
4. Measuring A/B Performance
The performance of the Branch Quick Link can be viewed on the Branch Dashboard.
You can then use these metrics to determine the winner of your A/B test and set one of them to be the NativeLink™ Default.
Updated 4 months ago


